Marketer in Pink
DIY Christmas Wrapping Paper
Wow! I am lost for words and can’t believe that we are nineteen days away from Christmas!
Christmas is one of my favourite holidays of the year especially an excuse to spend quality time together with family and friends as well as opening presents. I know that there is a big community that does not like wrapping gifts, but I’m definitely part of the community that finds wrapping gifts therapeutic.
Anyone up for a wrapping party? Ahaha! Yes, I had to invite my DIY friend @themnmlanml to my house and get this started!
What You Need
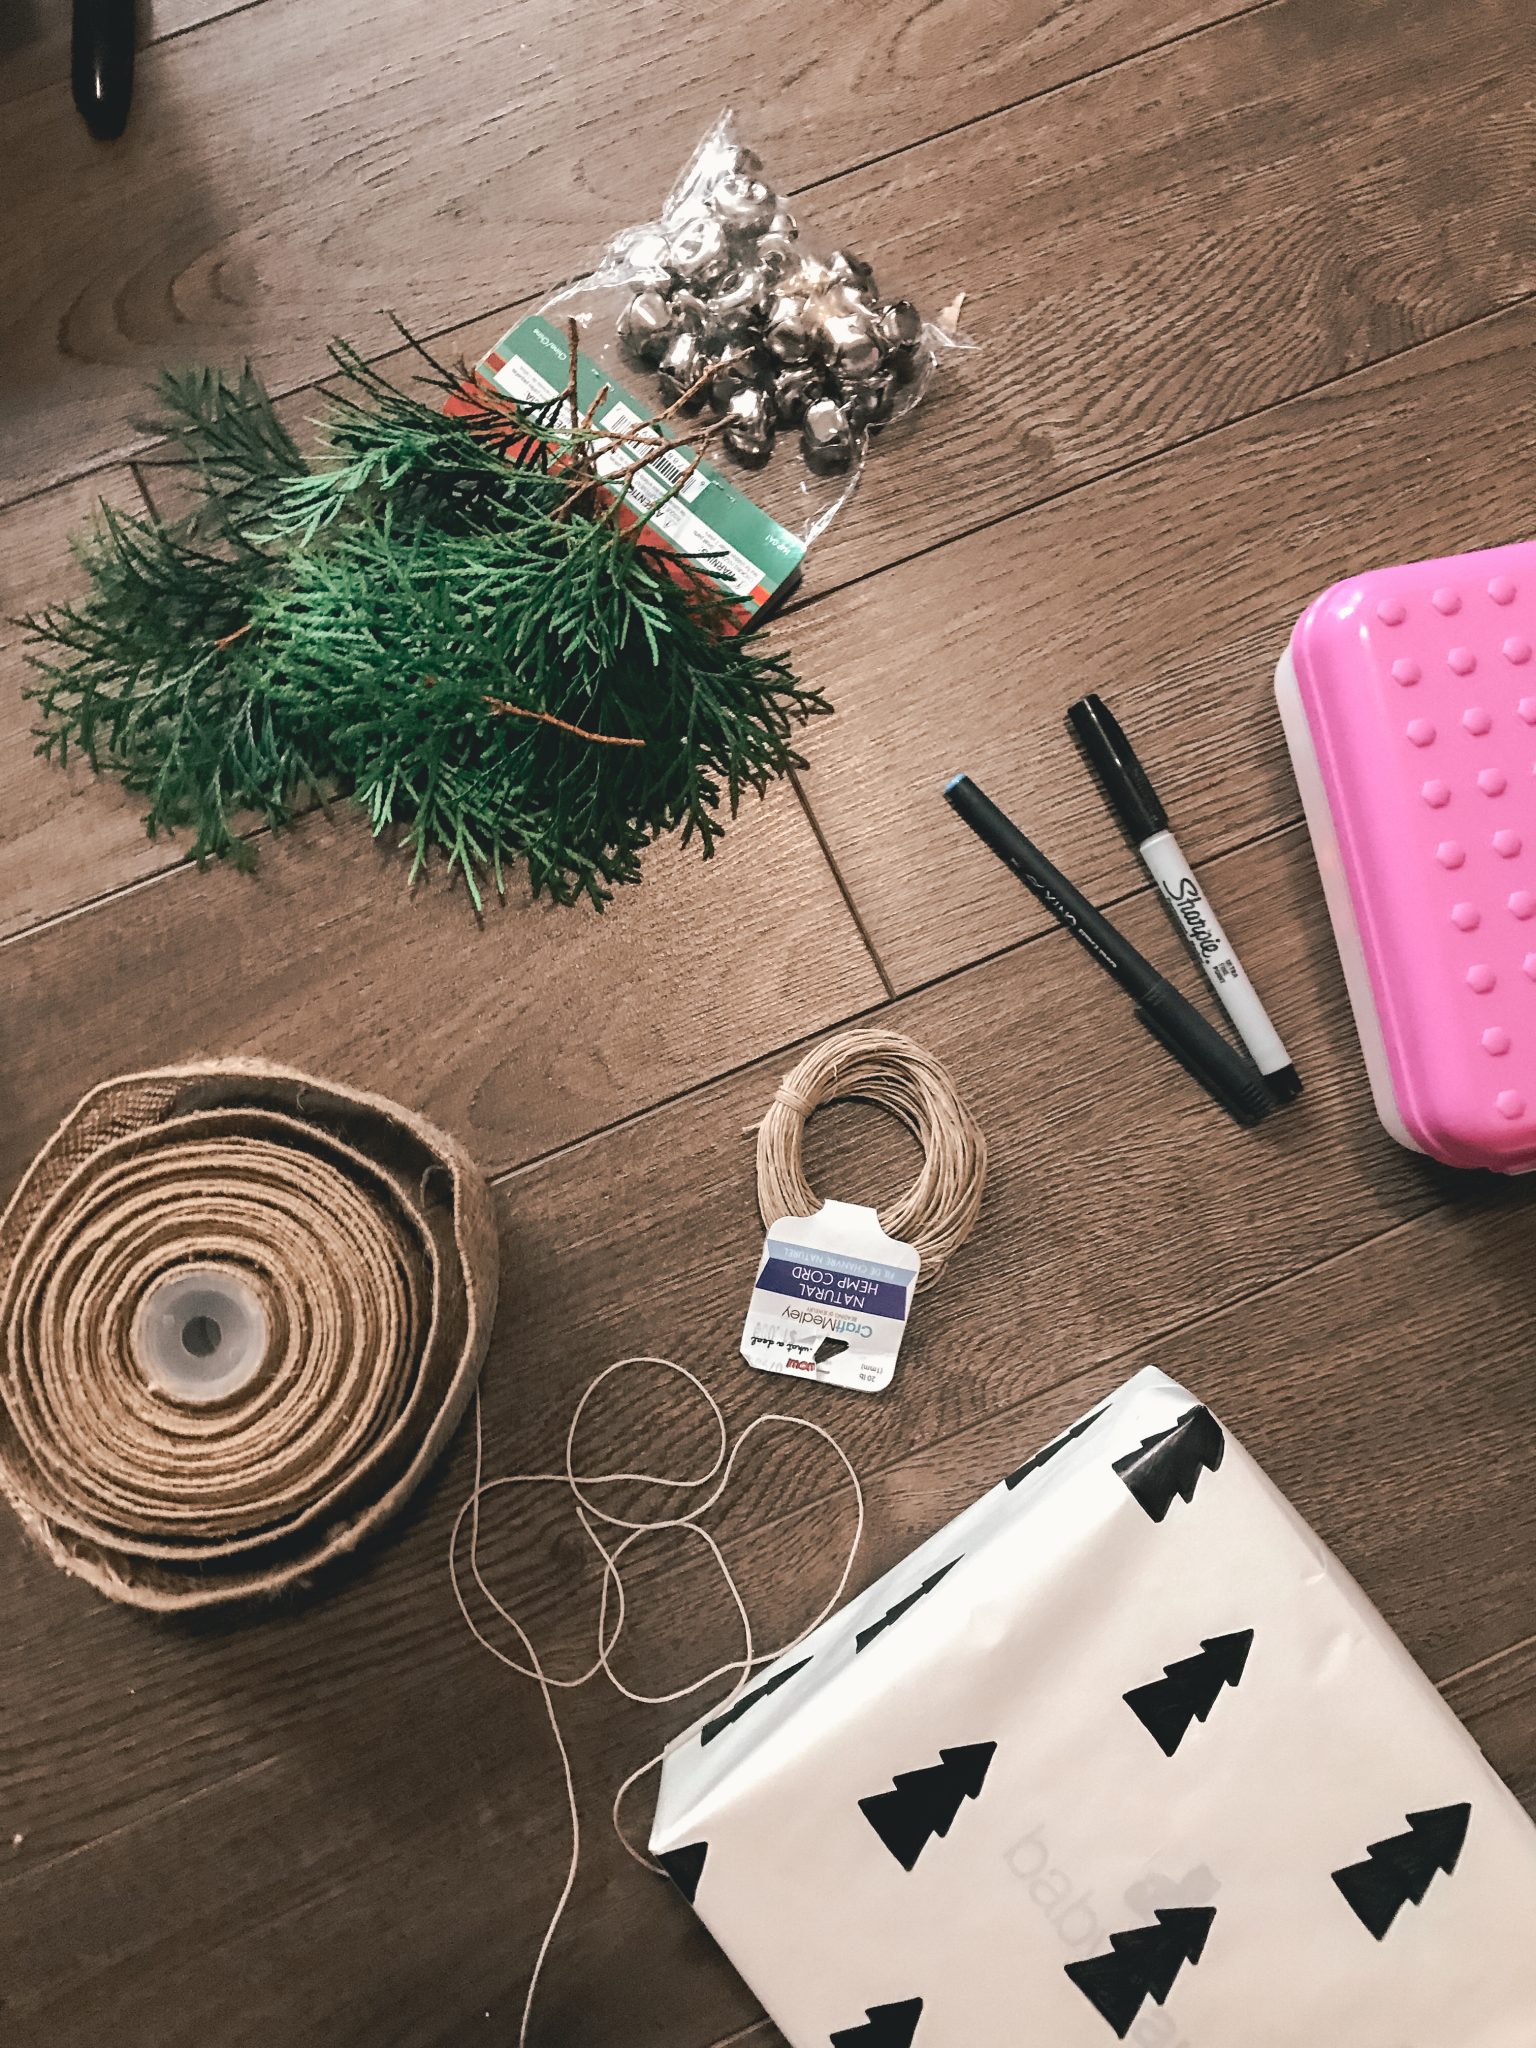
To get started with this project, you need the following materials:
- Tape
- Potato
- Scissors
- Craft Bells
- Black marker or paint
- White wrapping paper
- Rustic ribbons and thread
- Green ferns andleaves (takea quick walk at the park and you’ll see lots)
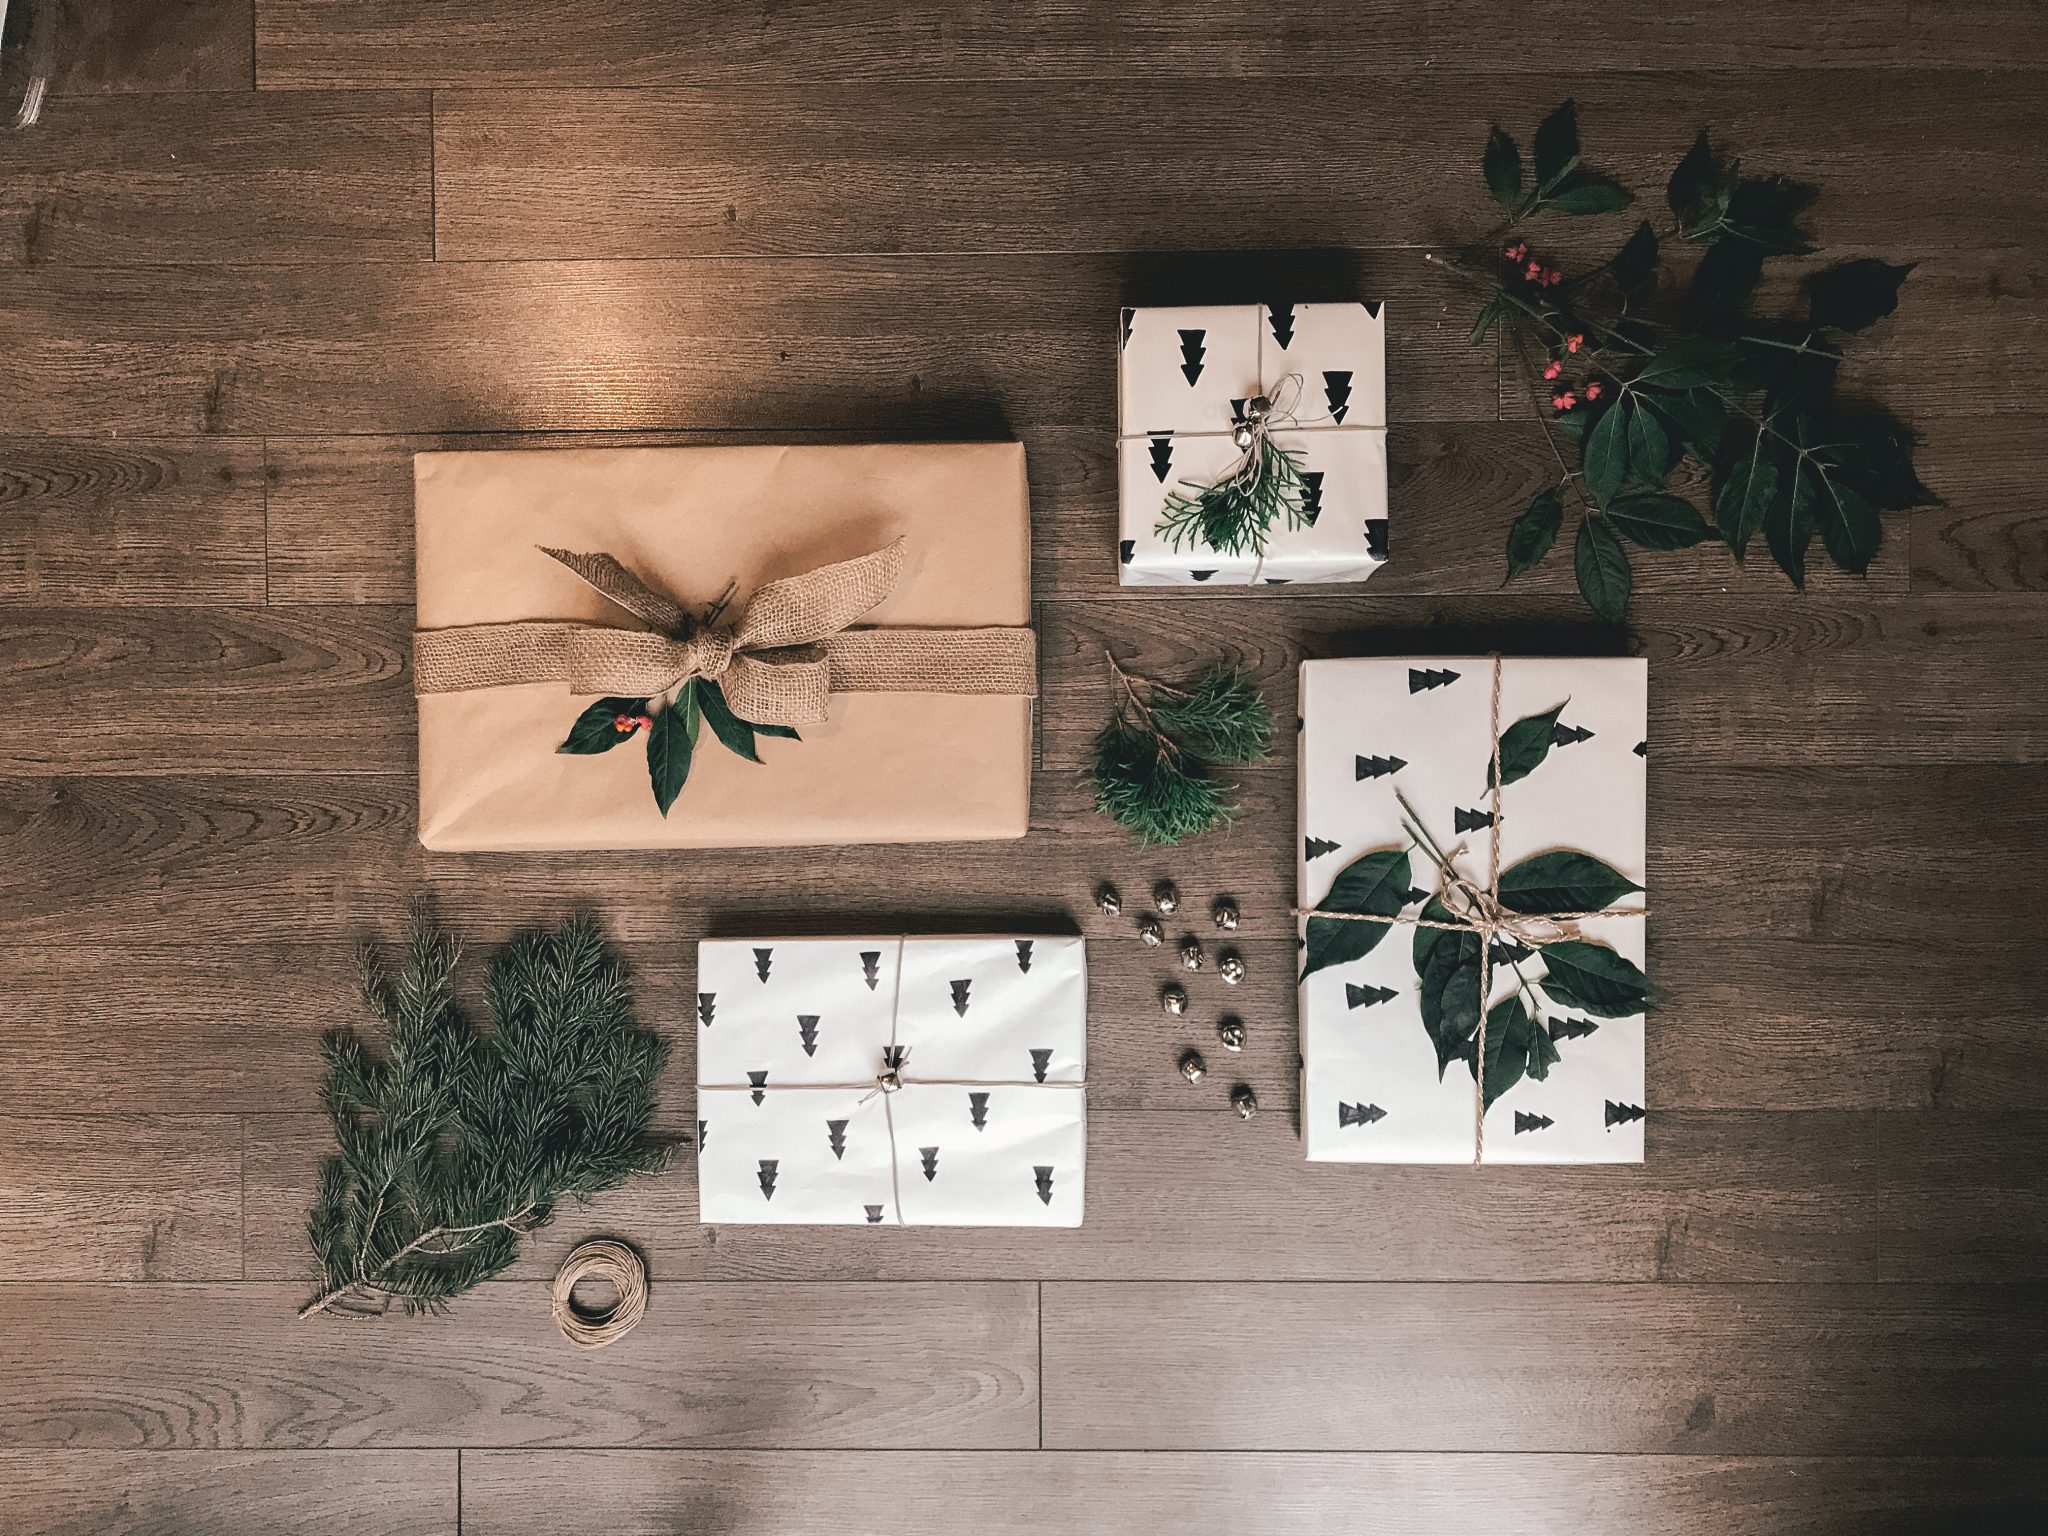
Steps to Your DIY Minimalist Christmas Wrapping Paper
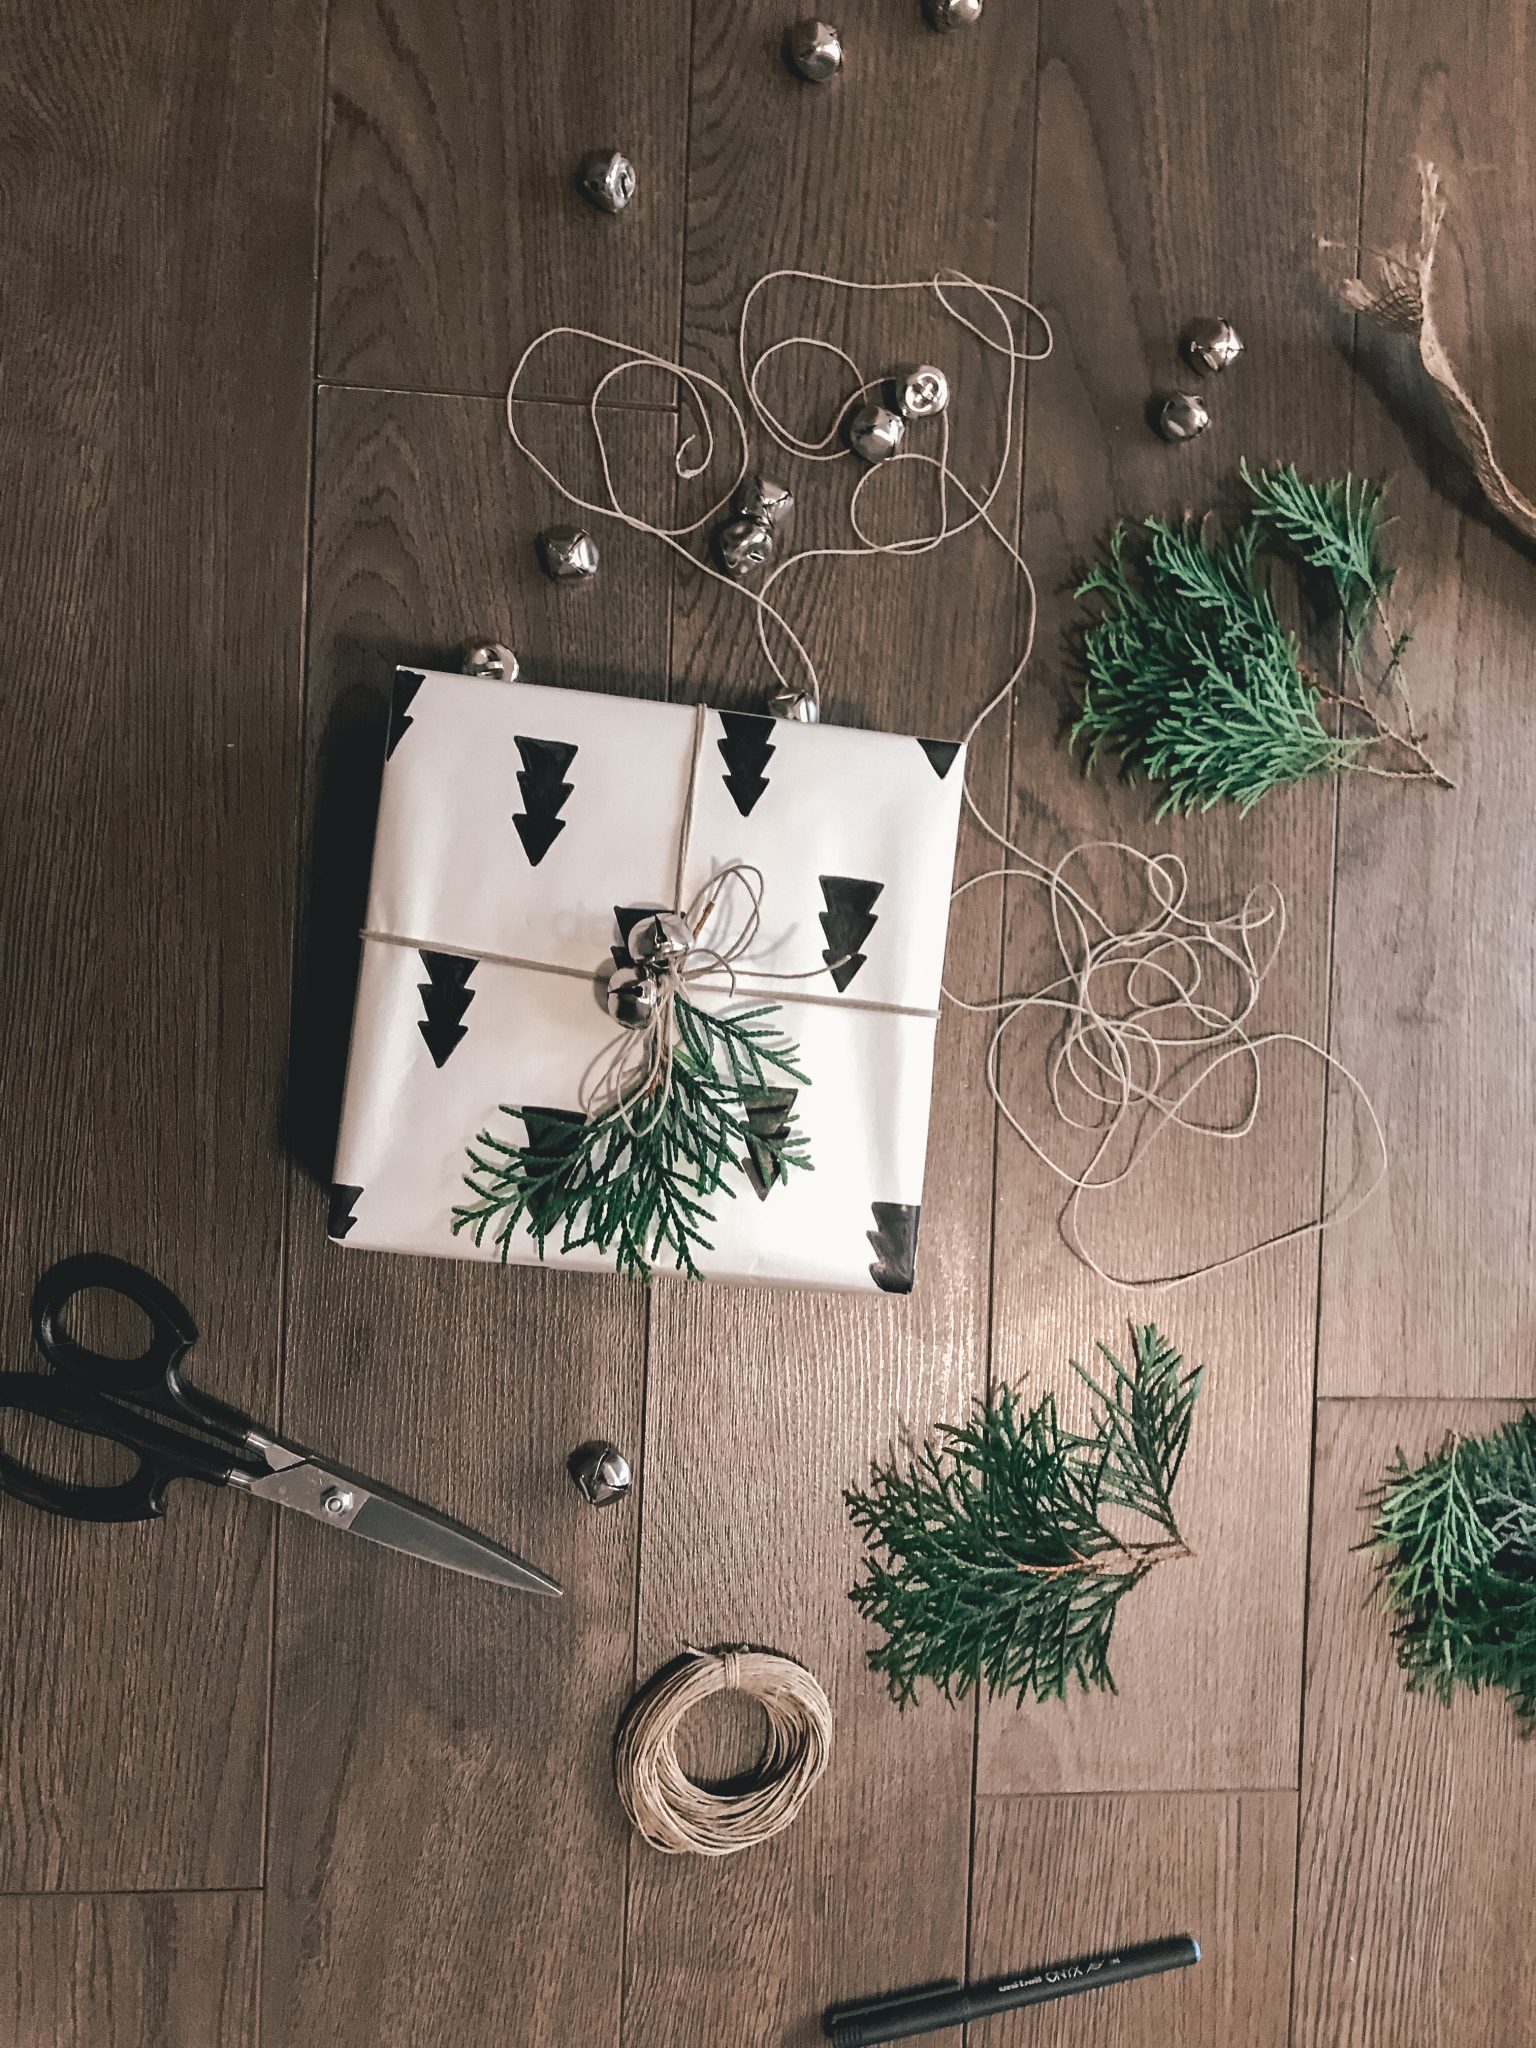
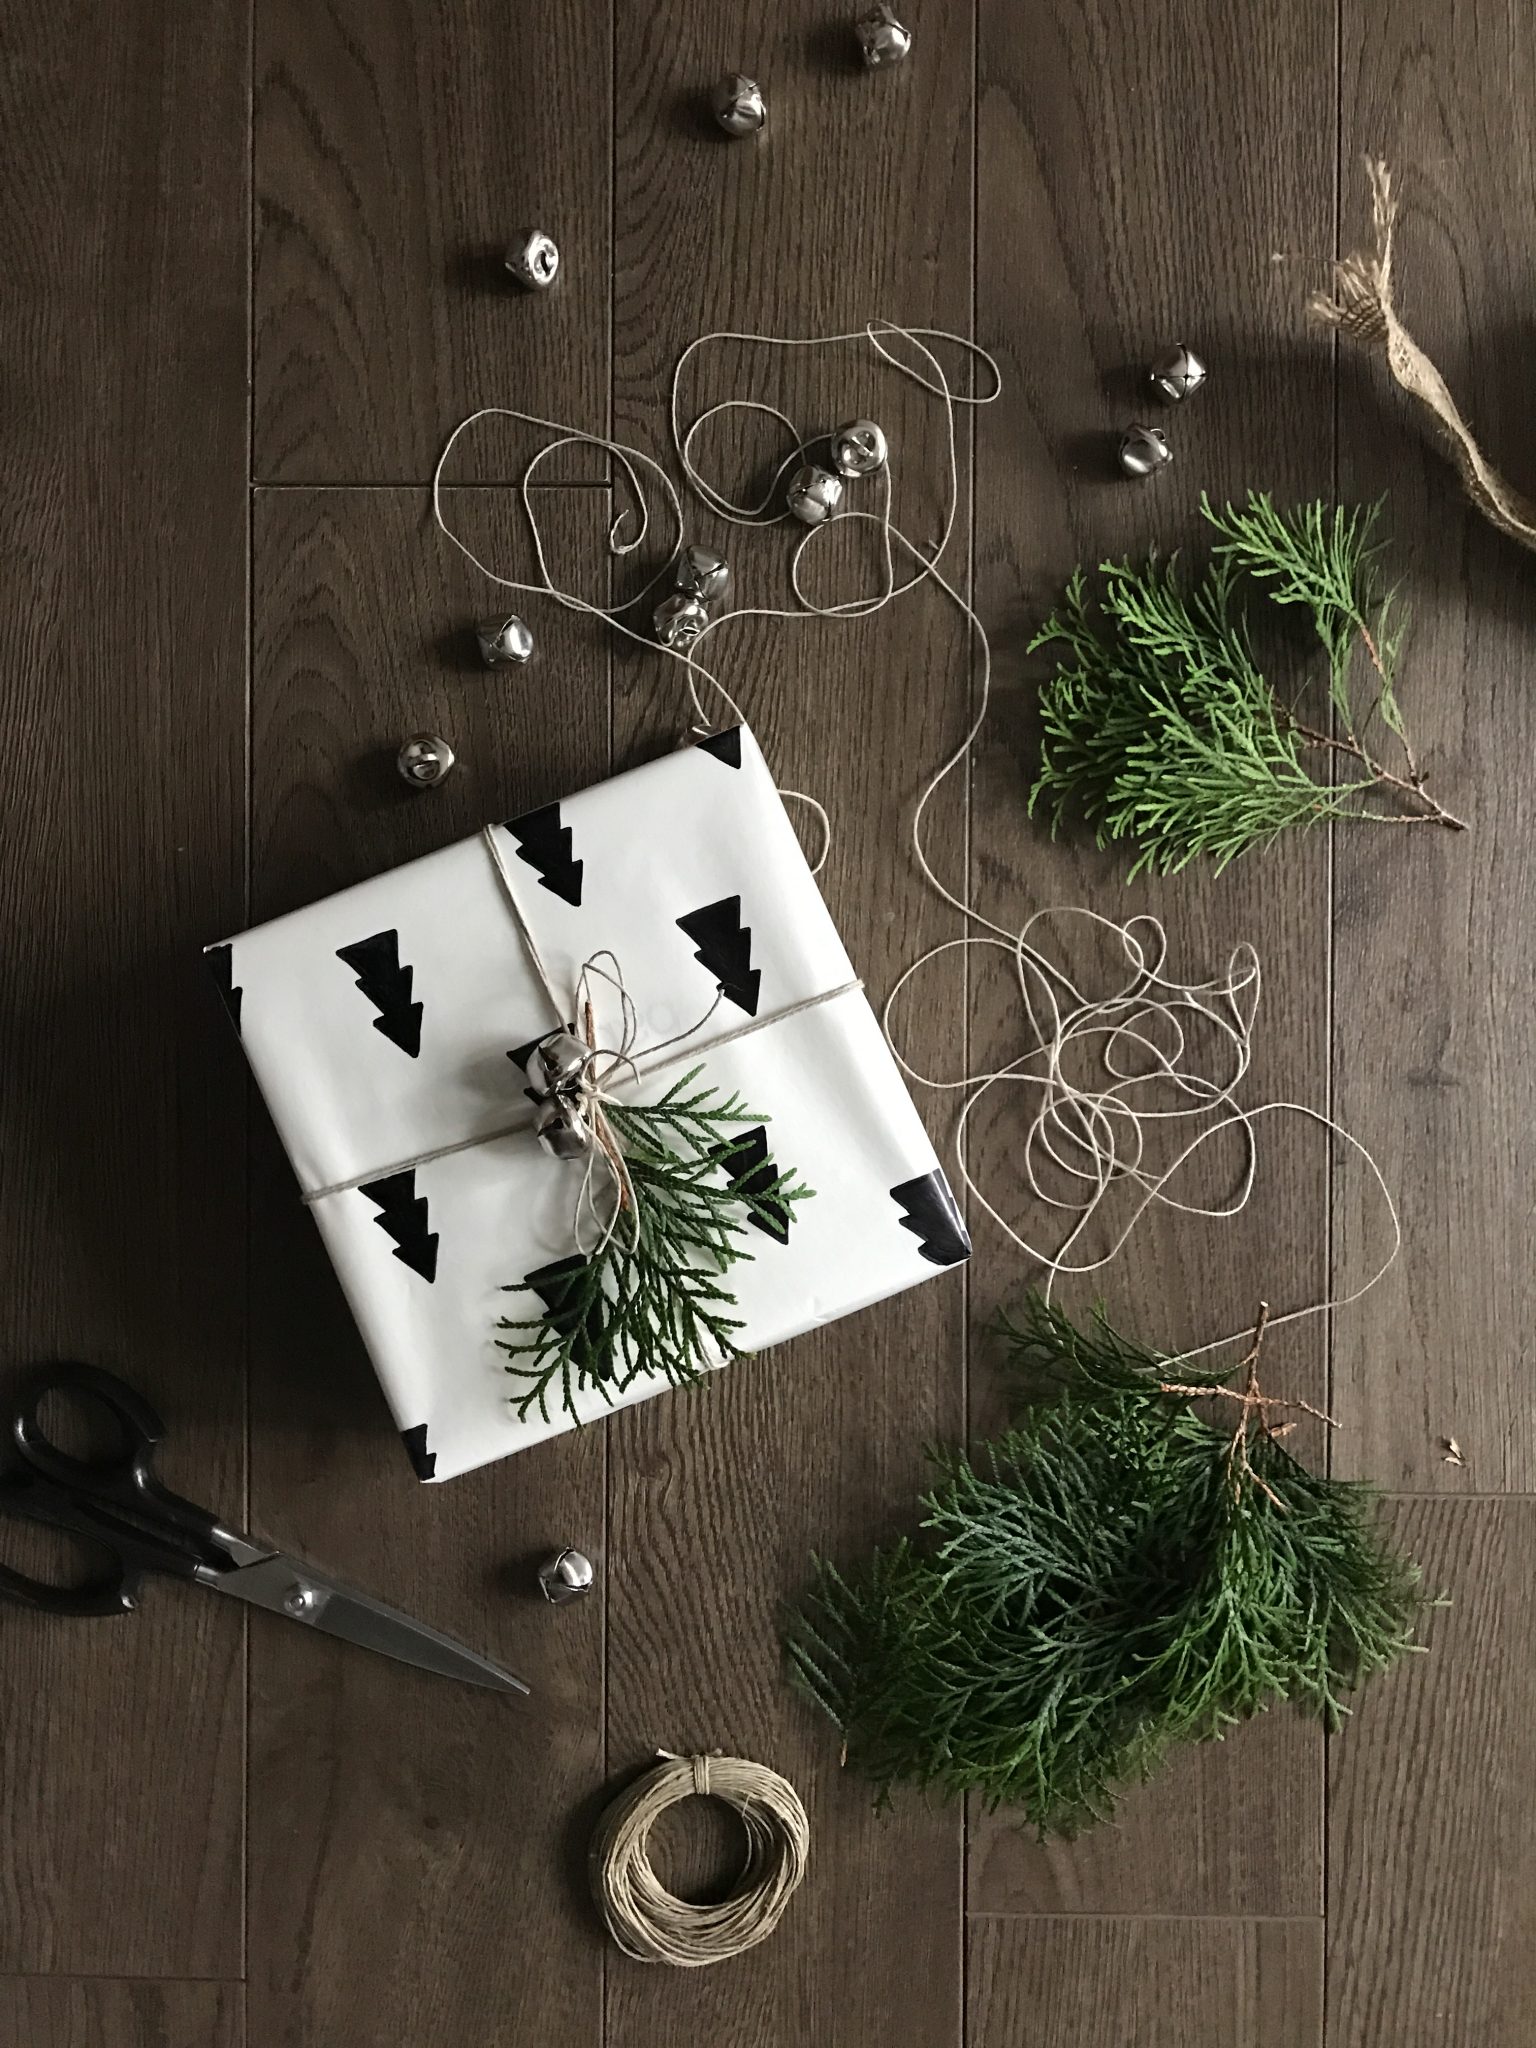
- Place your present in a box, measure and cut the required length of the wrapping paper
- Wrap it around your present and seal it properly using a good quality tape
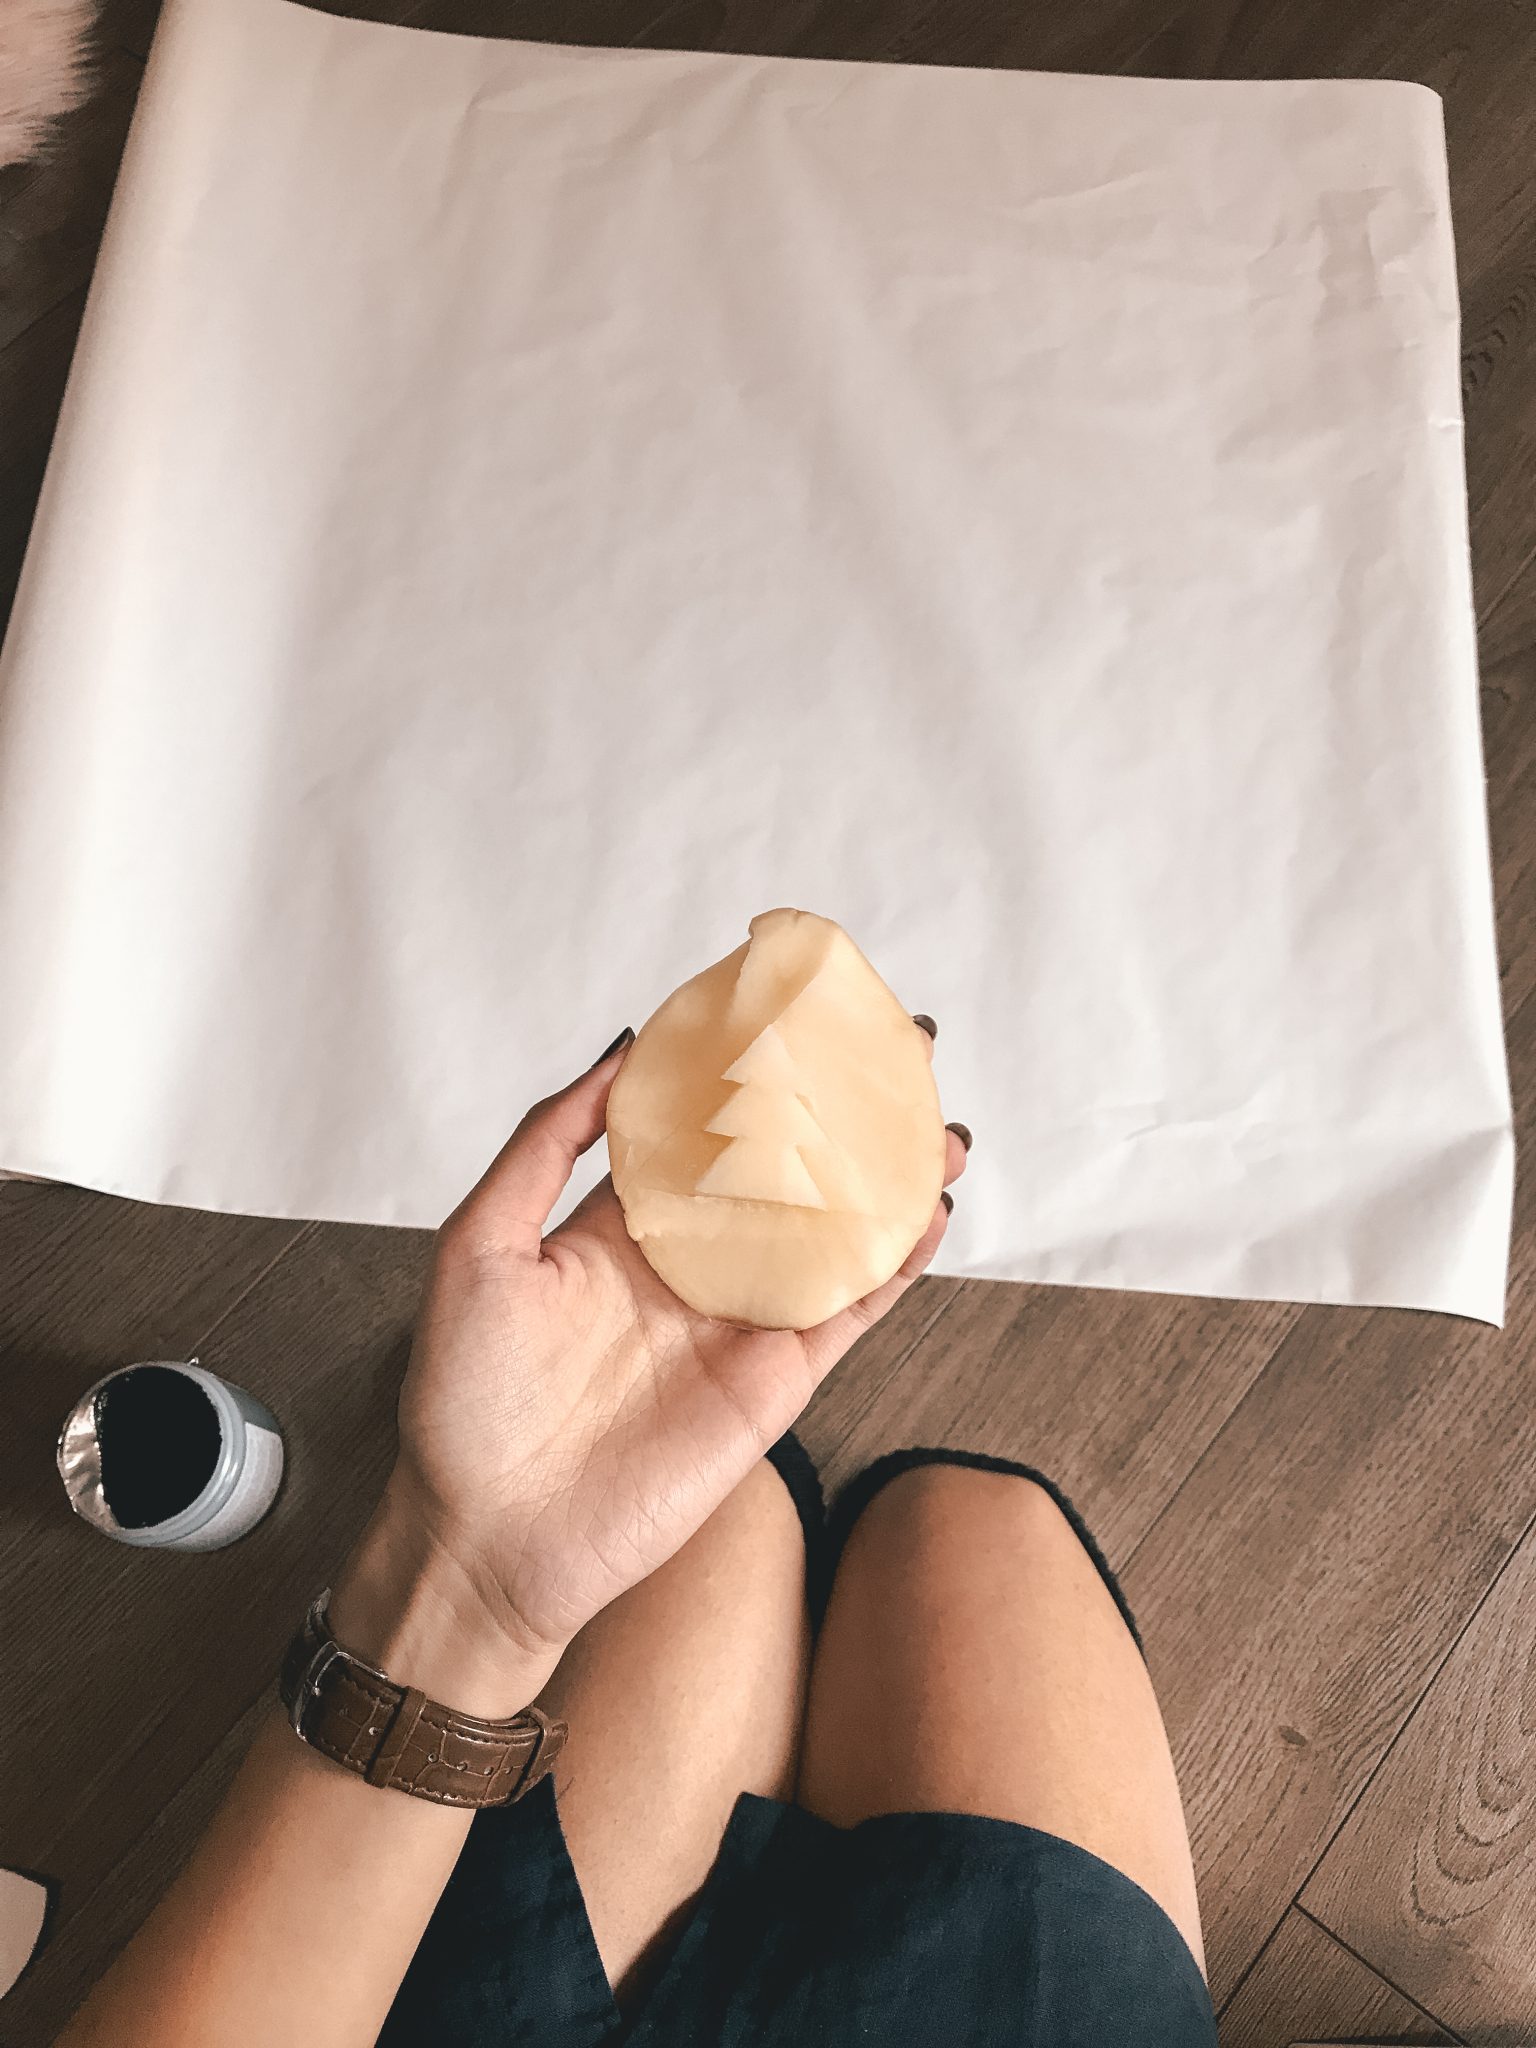
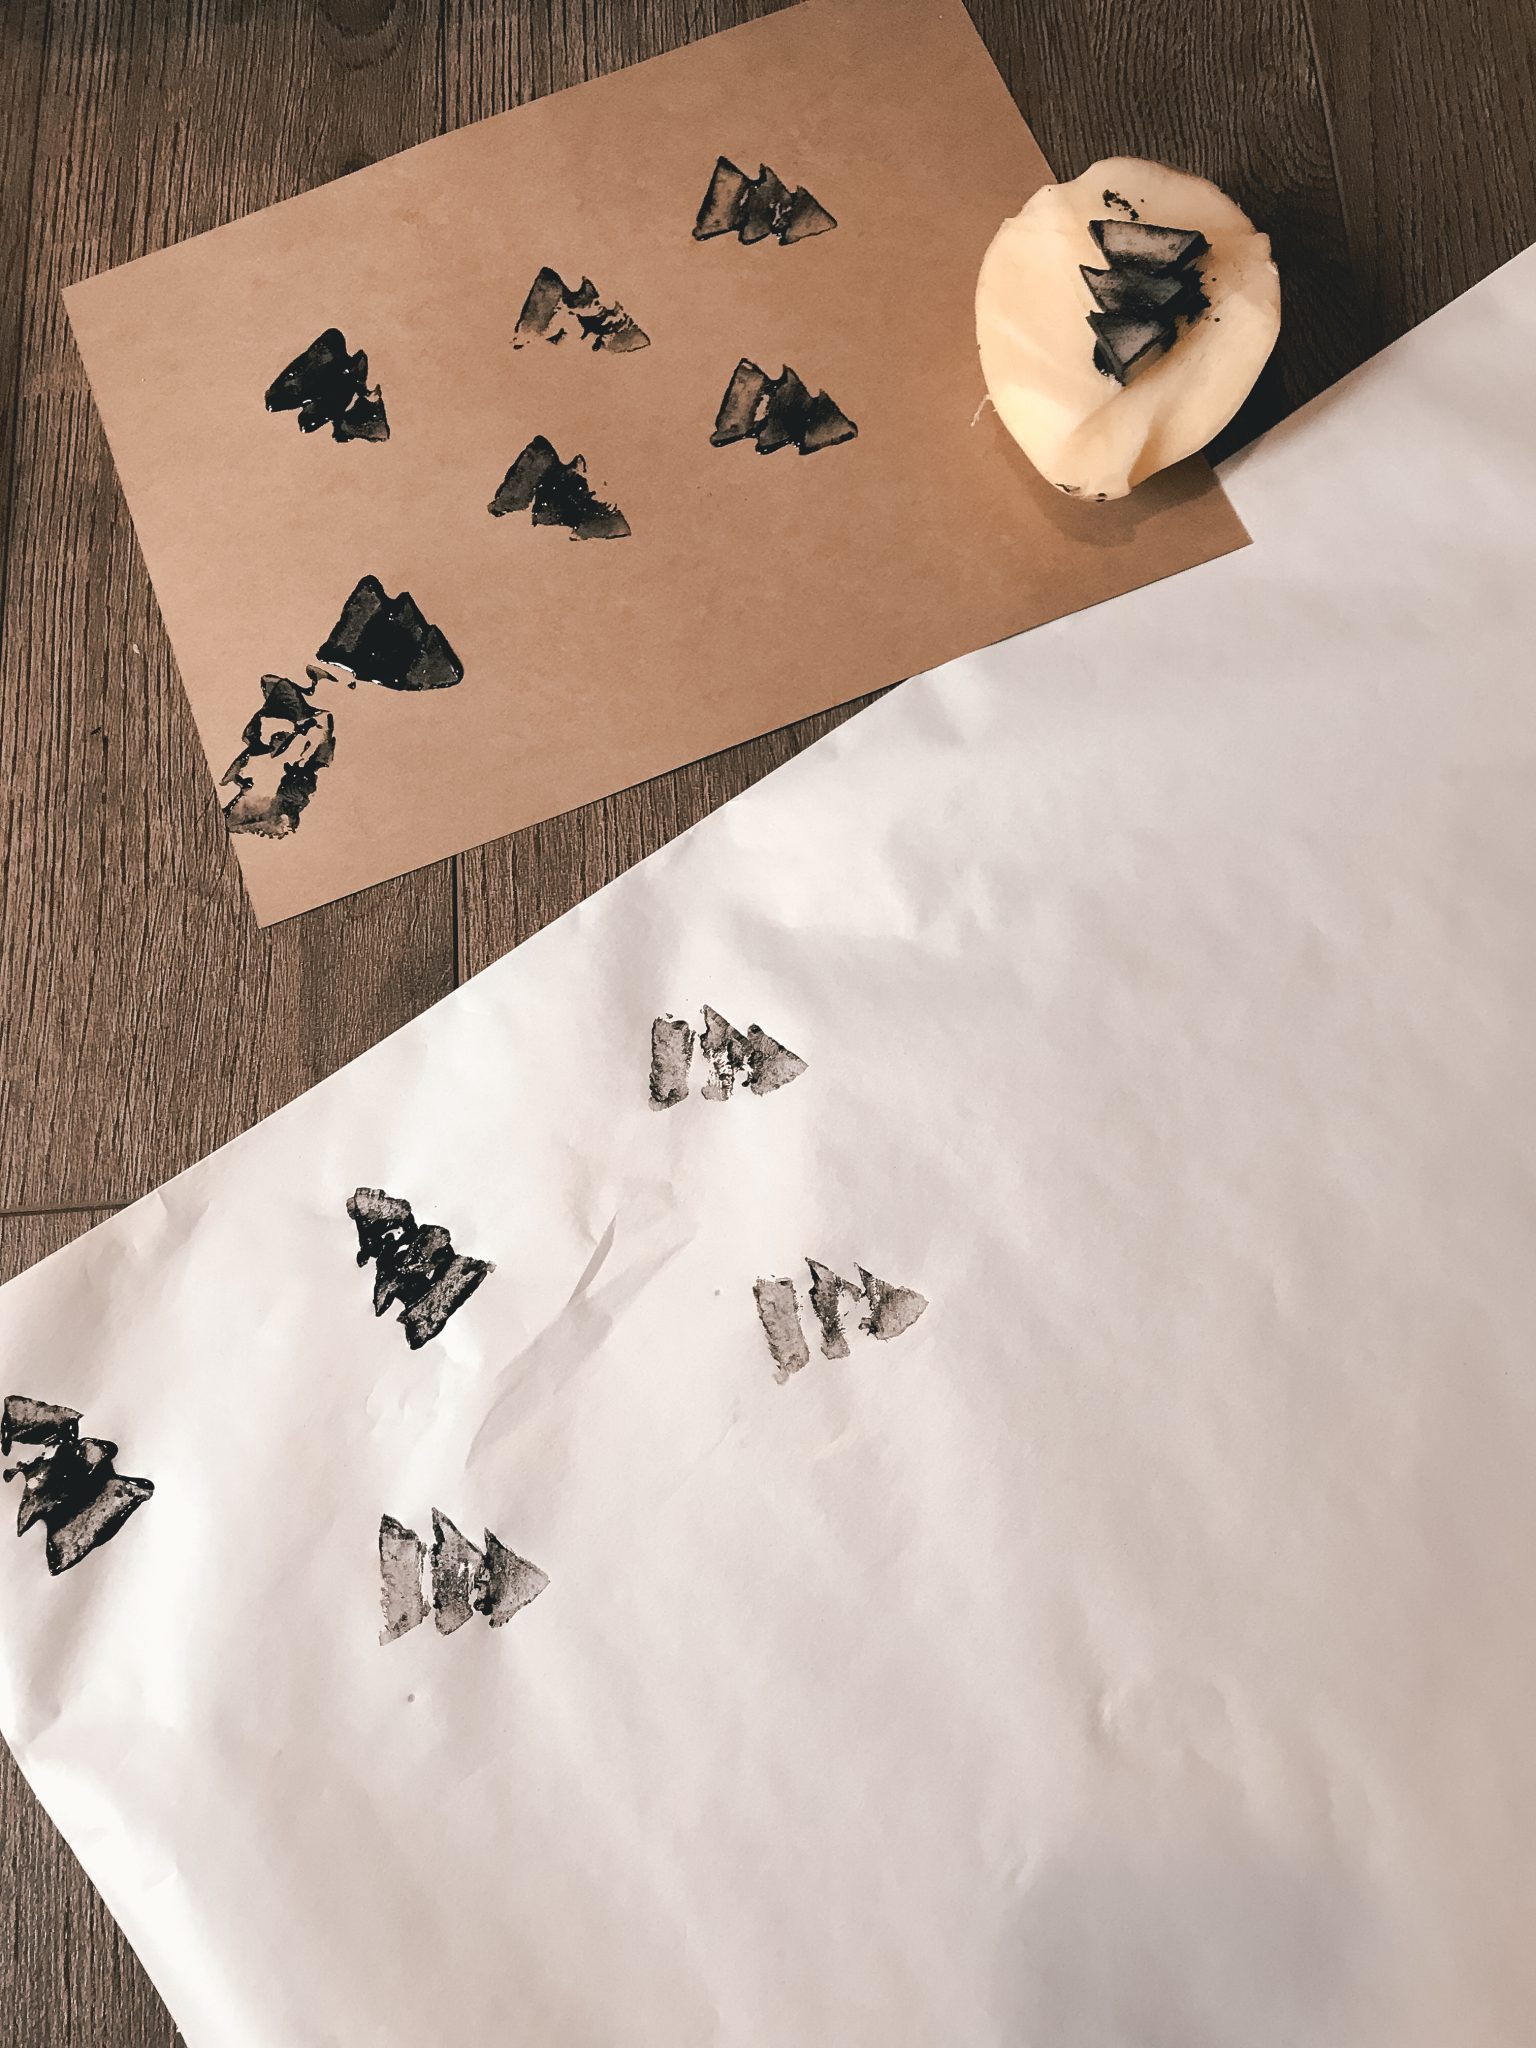
- Cut the potato in half and start carving the shape that you like (ie. tree). The potato will act as your homemade stamp.
- Then start colouring the end of the potato with a black marker. Alternatively, you can also use black paint if you prefer.
- Slowly place the ink on the white wrapping paper. As a rule of thumb, have an even spacing between the shapes.
- Let it dry for about 5 minutes before you move on to the other side.
- Once all side are stamped and dry, cut about a foot long of your referred ribbon or thread and wrap this around your present
- Use the green ferns or leaves and bells to add some festive touch to your present.
Tip: Use the black marker afterward to touch up some of the edges and ensure that your stamp has an even look!
This project is the perfect way for you to put thought and love on your Christmas presents. Plus it looks good under the Christmas tree if your presents look like ours!
I’ll let the images below as your reference point.
Share what you think of this project on the comment below!


XO,

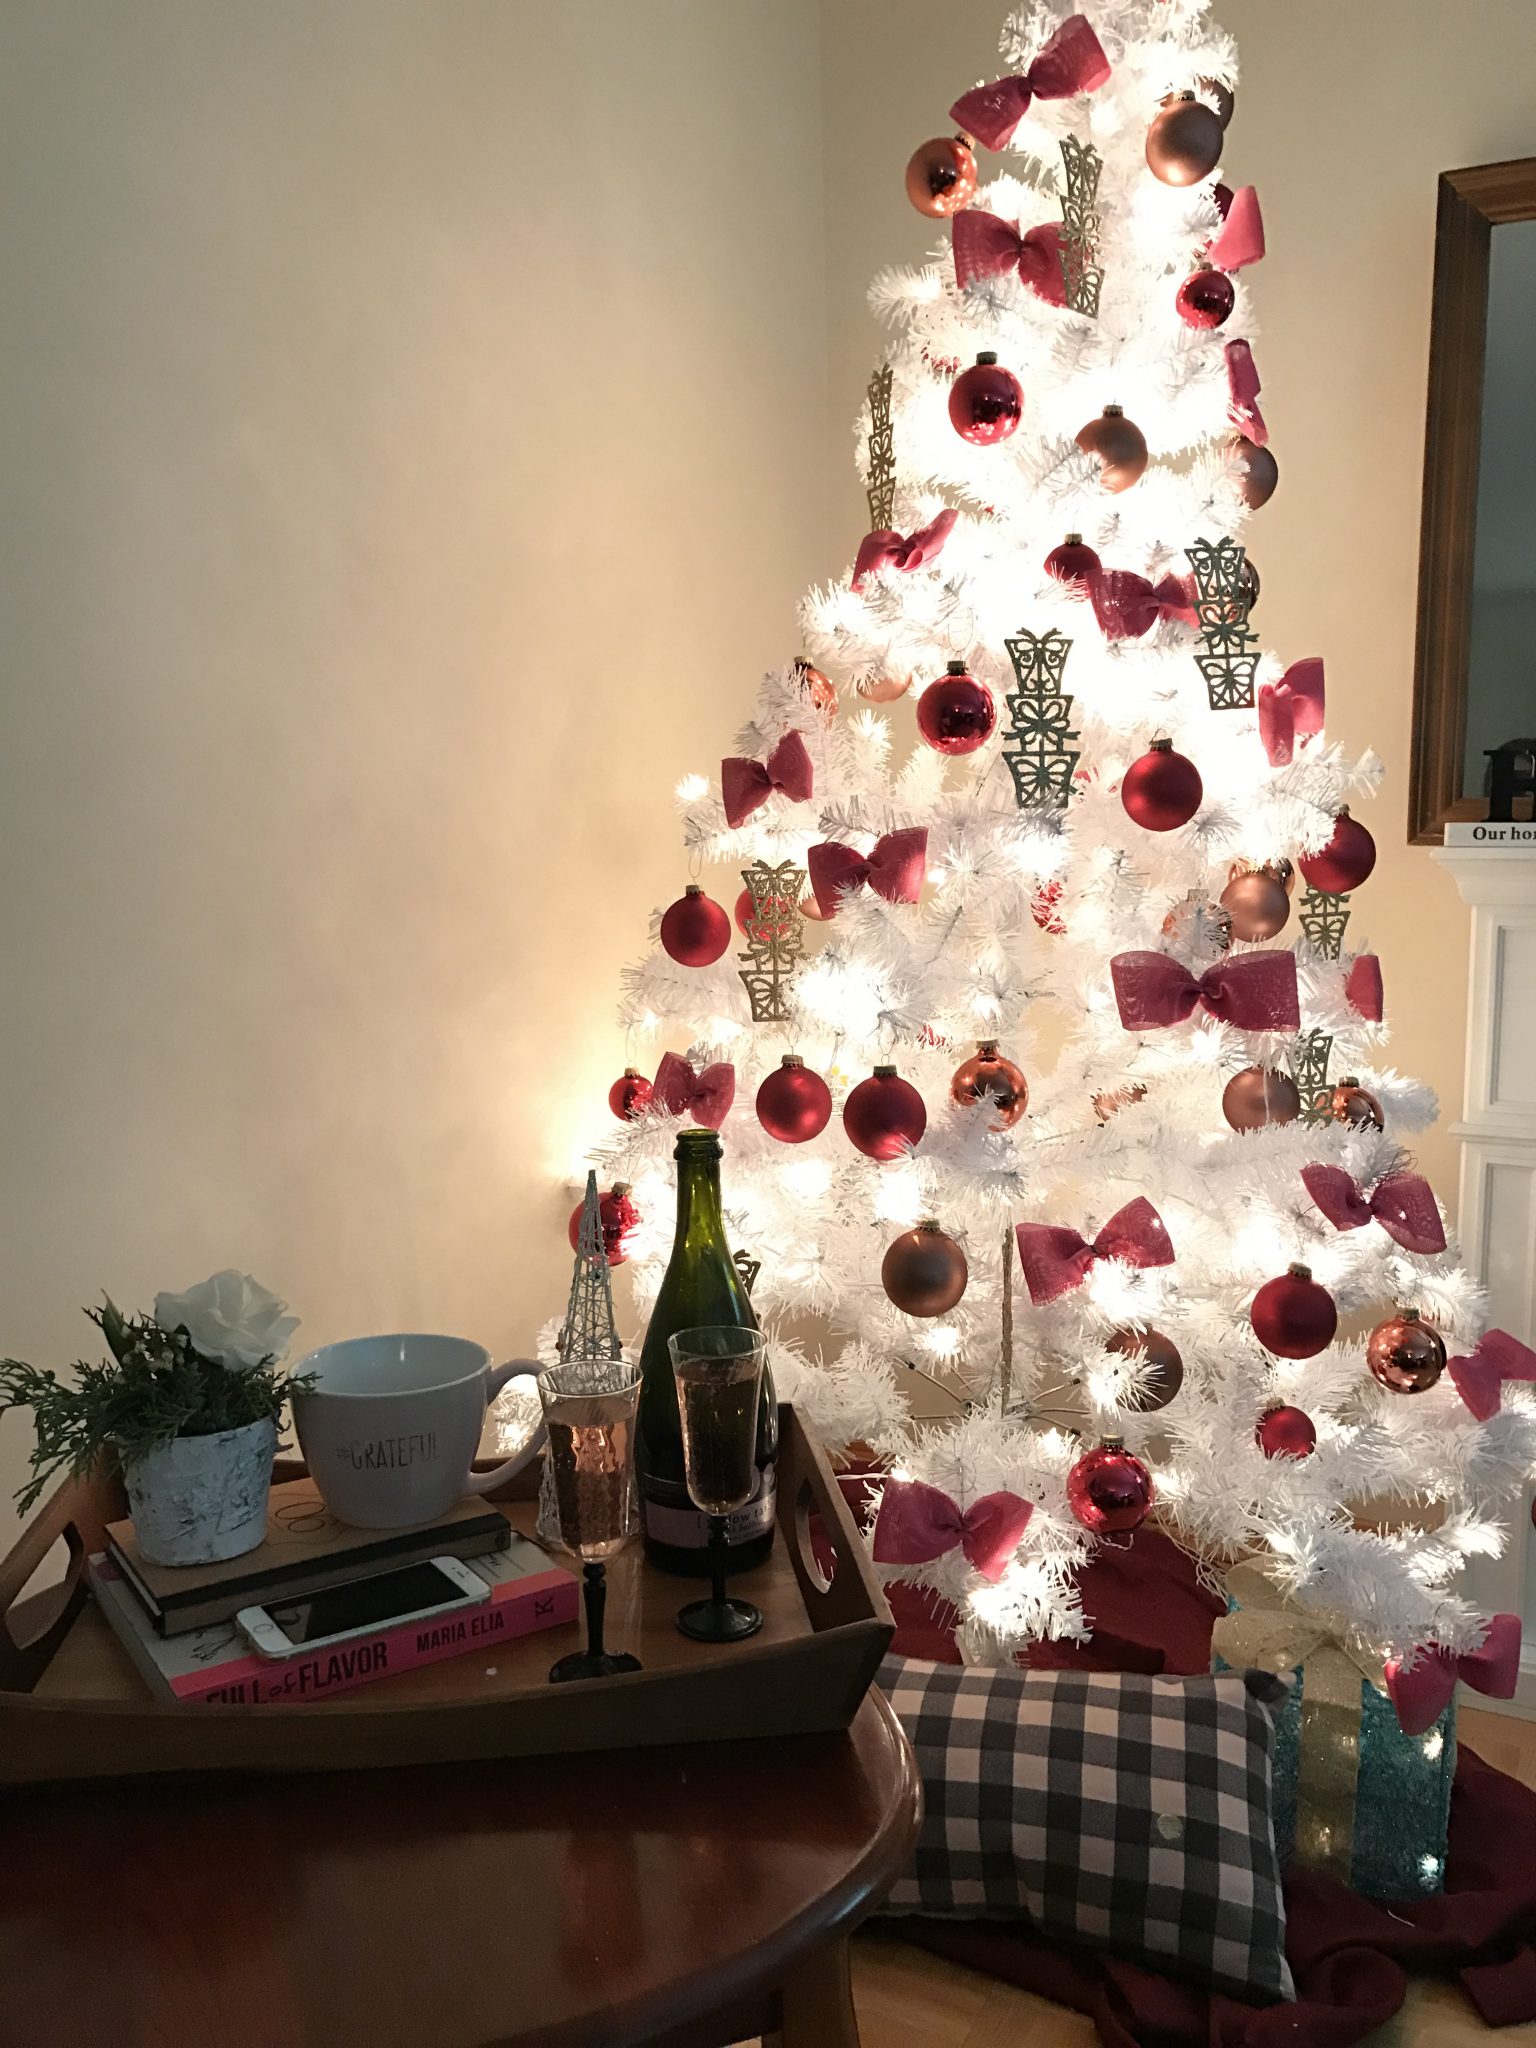
For other DIY projects, check my blog post on the White and Pink Christmas Tree Under $35.
Thank you for taking the time to read this post. Stay tuned for more updates!