Marketer in Pink
Princess Mode | DIY Tulle Skirt “Tutu”

Once in a while, I break out of the norm and challenge myself to do something I thought I can’t do. This time, I decided to create my own no-sew tulle skirt.
I stopped by the nearby fabric shop and pick up enough tulle and white garter. Cut at least 10 even 2-feet tulles and repeatedly create a u-hook on the garter until it’s full. It turned out so great that I decided to wear my DIY tutu for my first ever public photo shoot. Funny enough, it sort of turned out to be my trademark since I launched the blog.
I have to admit wearing it made me feel like a princess. Even more, when I was twirling in the middle of Trinity Bellwoods Park.
But of course, I am not the sophisticated kinda girl. I had to break out to my bubbly self and take a few silly photos in- between outfit change.

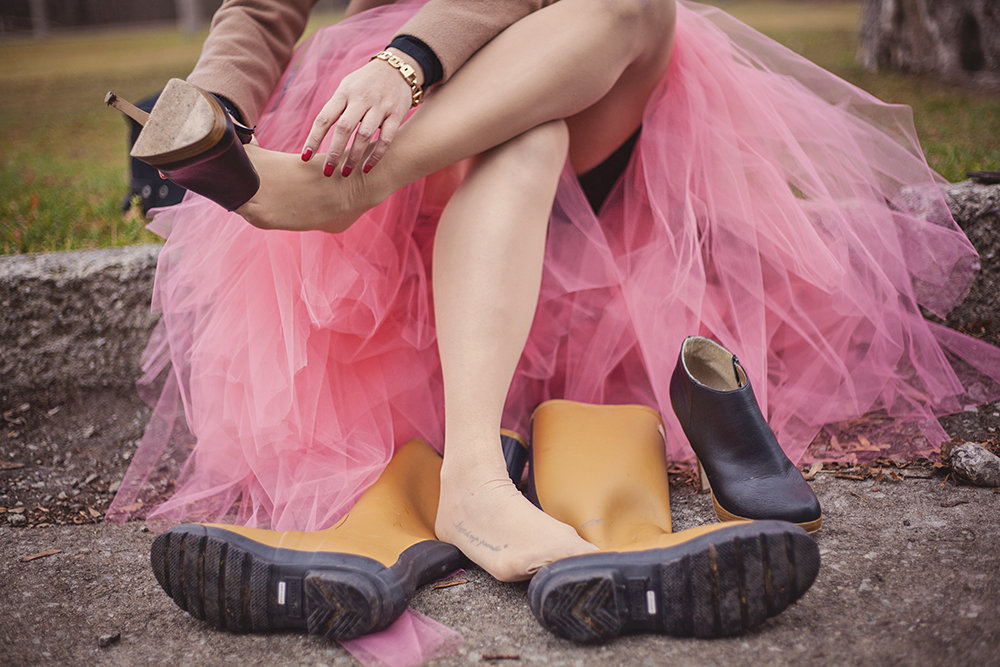
From Hunter boots to black booties. I remember this day clearly, it was cold but it was fun while it lasted. I was blowing bubbles, jumping up and down in heels, twirling and even doing some rock star hair flip.

I encourage you to bring out your inner princess and push yourself to do things you didn’t think you could. This photo above was my first ever photography session and I was nervous but it was the best two hours of my life.

Jacket: Cleo, Camel Coat
Dress: Forever 21, Long sleeve black dress basic
Shoes: Le Chateau, Black Booties and Hunter Boots
Create the DIY No-Sew Tutu
Tools and Materials: Scissors, 75 yards of tulle fabric on a 6-inch spool, 2 yards of 3/4″ ribbon and tape
- Cut the tulle fabric into strips, ideally two feet wide to create a fuller look. Use the tape to hold the other end of the tulle.
- Tie the tulle onto the ribbon using the slipknots technique (almost the u-shape style). To do so, fold the tulle strip in half and put the folded end under the ribbon then stick the other ends up and through it to make a slipknot.
- Repeat the process until you reach around your waist.
- Put the tulle together and keep adding more strips until you get the desired fullness.
- Tie the ends of the ribbon and enjoy your brand new tutu!
- Store your tutu safely using the garment bag.
Give it a try. Don’t forget to share your photo and tag me @jemcastor so I don’t miss it!
Thank you for taking the time to read this post. Stay tuned for more updates!


tutus for girls
08/30/2016this is awesome!